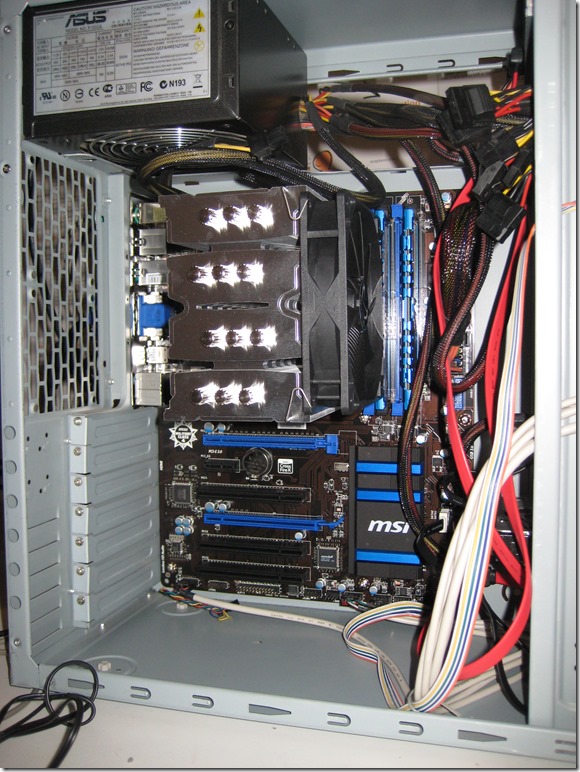
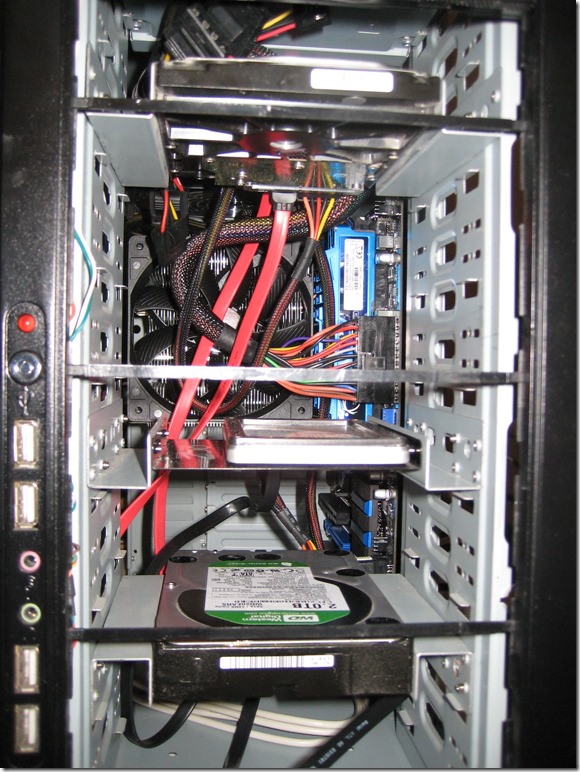
After four years with the same PC configuration (AMD Phenom 9950 Quad-Core 2.60 GHz), we decided to buy me a new central processing unit. My old PC was disctinctly slower running unit test and SpecFlow scenarios. We bought a Intel Core i7-4770K CPU, which has a three times greater CPU benchmark (about 10,000 to 3,000). Of course we also needed a new MSI motherboard and Mugen 4 CPU fan.
Installing the hardware was fun – it was my first time installing a mainboard. Here is what my PC looked afterwards:


Unfortunately my Windows Server 2008 R2 on my SSD did not like the new hardware and did not boot. I had to work out how to stop Windows to shut down when showing a blue screen. After researching the error code I changed the BIOS setting for the SSD to IDE (instead of SATA). And finally everything worked! Fixing this bug was less fun than installing the hardware.
It is nice to work with a much faster, quieter machine. The RAM upgrade from 8 to 16 helps, too. It surely boosts my productivity by a few percent – in the long run it is totally worth the upgrade.
Since the space on my SSD was getting scarce, I decided to transfer the database files to a different drive. It was much easier than I expected:
- Detach the DB (via ‘Tasks’)
- Move the mdf and ldf files to the new location. (They are usually located somewhere under ‘C:\Program Files\Microsoft SQL Server\’.)
- Attach the DB by choosing the mdf file.
Thanks to the instructions from katieandemil. They were especially appropriate since I also had SQL Server 2008 R2 installed.
If you rather like to use Transact-SQL follow this stackoverflow post.
I did not think it was that easy. I just followed these steps. Just create a certificate in Server Certificates feature on the server node in IIS. Then add https binding to your site (Port 443) and chose the certificate you just created.
Of course this self created certificate is only good for a website with users who trust you. For a bigger website you would usually get an authorized certificate from a trusted certificate authority.
Sometimes we need to configure a new server with the same websites / applications like on another server. Up until now we only used IIS 7.5 on our servers, and I always used these instructionsby Toni Pohl (in German). Sometimes I even then stumbled into problems – they had to do with different IIS installations (i.e. missing features) on the different machines.
Now, for the first time, we have a Windows Server 2012 with IIS 8. Since I could not find instructions on how to transfer the configuration from IIS 7 to IIS 8, I simply applied the same process like above. It went badly: the Application Pools and Sites folder were gone. Luckily IIS backs up its configuration to %systemdrive%\inetpub\history. I restored the default by copying and overwriting adminstration.config and applicationHost.config.
I applied the same method to get the IIS 7 configuration into the IIS 8 on the other server: copy and overwrite adminstration.config and applicationHost.config. And it seems to work – I had no problems upto now.
The setup
We use the build in Performance Monitor on our Windows Servers to chart the data. That way we can see in how much load running the web application Camping.Info results. We usually monitor “% Processor Time”, “Commited Bytes”, “Requests/Sec”, “Requests Current” and “Request Execution Time”.
The loss
The latter three did not show up after I repaired the mirror on the server. I could not add them back via Properties –> Data –> Add. The whole category ASP.NET v4.0.30319 was missing.
The solution
After trying a few things and googling, I finally found the answer on serverfault: http://serverfault.com/questions/25842/performance-monitor-cant-add-counters-from-net-data-providers (second answer).
All I had to do was to delete the entry “Disable Performance Counters" in HKEY_LOCAL_MACHINE\SYSTEM\CurrentControlSet\services\ASP.NET_4.0.30319\Performance. Then I restarted the Performance Monitor and everything was fine. A was able to see the missing category again.

